How to build your own electric car
Assembling an electric car can be easy as long as you have few of the things highlighted below. Once you manage to convert your combustion car to electric please let us know.
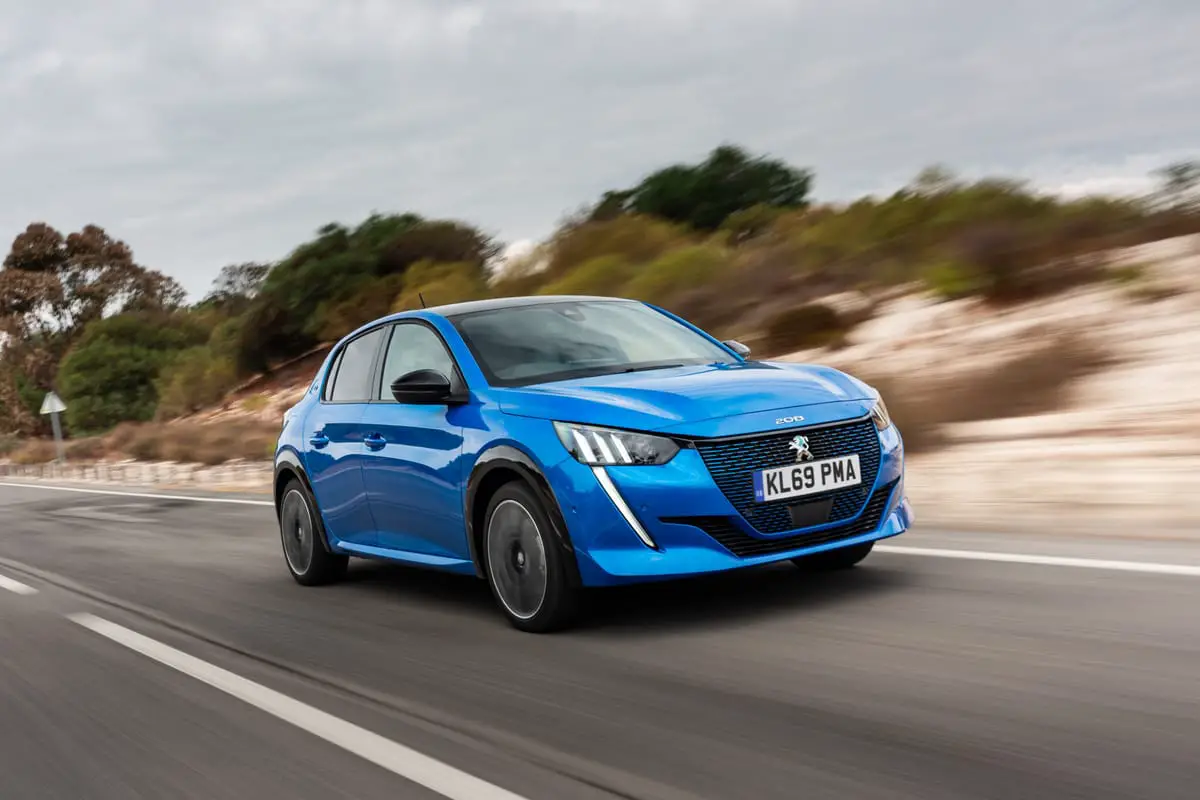
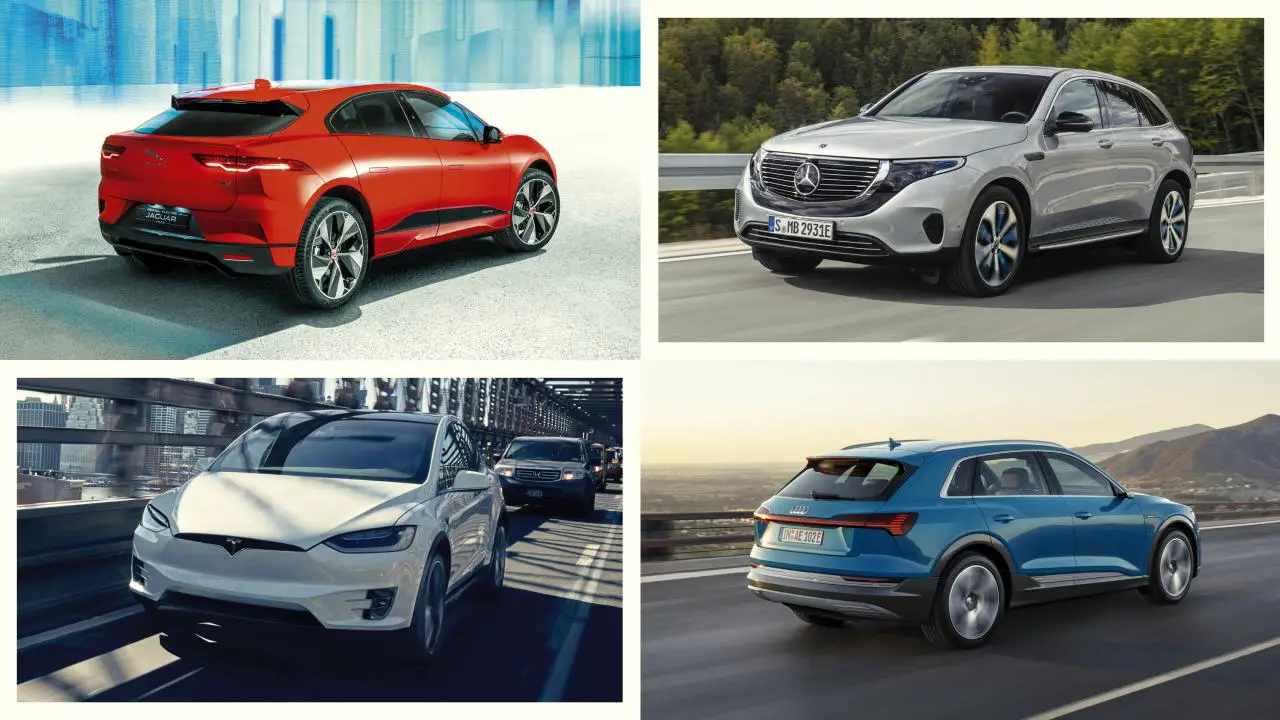
Assembling an electric car can be easy as long as you have few of the things that a highlighted below. Once you manage to convert your combustion car to electric please let us know.
Step 1: Get a Car.
The first thing you need to do is get a car. They are not all equal. Look for a lightweight vehicle without power because heavier cars need more energy to push down the road, thus limiting your range of batteries.
Things like power steering and power brakes run off the engine, which will be removed, making them useless. Power windows and locks add weight and complexity to the vehicle. For example, an old vehicle ensure the car doesn't have anything significant wrong with it (other than maybe a blown engine!) You want to do a Conversion, not a Restoration!
Step 2: Remove Anything Gasoline Related
That means that you are going to take off:
i)Gas tank
ii)Exhaust, muffler, cat
iii)Engine
iv)Starter
v)Radiator
vi)Coolant tank
vii)Fuel lines and filter, and anything else you can think of.
By removing all the extra bits, it saves weight and cleans up the car, making it easier to paint, run wiring, and do everything else in the conversion. If you remove the combustion parts carefully, you can sell them to help cover the cost of the conversion. Make sure not to alter any safety gear such as the driver, and passenger airbags remain intact and functioning.
Step 3: Adapter Plate
Use the car's original transmission to connect power from the electric motor to the car's wheel. Be careful as you attach the engine to the transmission. An adapter plate, which is made out of aluminum, has holes in it to line up with both the transmission and the motor's end.
Pull the transmission out of the car and flop it on tagboard, then take motor end cap to a local machinist who is also a hot-rodder and knows way more about cars than I do.
Cut an aluminum plate to size and shape required, complete with carefully aligned holes. The center of the motor drive shaft and the transmission-driven shaft need to line up perfectly. Before bolting the motor and transmission together with the adapter plate, we need to design a coupler that will mechanically connect both drive-shafts.
Step 4: Coupler
The coupler is a means of connecting the rotary power of the electric motor to the transmission to control the car. Simultaneously, there are several ways to do this, including keeping the clutch and machining the flywheel.
Lovejoy connectors have three fingers and a shaft-hole. Put one connector on either shaft and a rubber "spider" between the two. You will have a mechanical connection. Lovejoy couplers are designed with a keyway and set-screw, but both the shafts on this project are splined. Splines are much stronger than keys but much more difficult to the machine!
You can take the old clutch plate and ground off the rivets to get just the middle splined center out for the transmission. The machinist cuts off the ears, lathe a step in the Lovejoy coupler, push the clutch spline in there, and weld it in place.
Take drum brake apart. It is enough because it has the same spines on the back end. Make the motor half of the coupler. Line up motor and transmission, with coupler halves between them (with the spider in there) and bolt both the adapter plate. You have an electric car drivetrain.
Step 6: Batteries
Four batteries are in the car's cargo compartment, and two are in front, where the radiator used to be. For the rear batteries, cut two pieces of a bed frame to lay across the spare tire well and run a bolt through the end of each piece down into the car's frame.
You must have a battery charger power inlet. It is a male electrical connection with a rubber cover. Since the gas tank is already removed, install the power inlet where the gasoline used to go in.
Plug it in at night, and it's charged the next morning, automatically.
Step 7: Controller
The controller is a significant part of the electric car conversion. The controller is a solid-state electronic box that controls the power (speed) between the batteries and the motor.
The higher amperage your controller is, the better your acceleration will be. The higher the voltage, the better top speed and efficiency of the car.
Also, keep in mind that amperage is also what defines a range in a battery. Capacity is marked in Amp Hours, but draining a battery at the double the amps will give you LESS than half the run time! Having a controller running higher voltage will use fewer amps to do the same amount of work.
What's this mean? Buy the highest voltage controller you can afford! Forty-eight-volt controllers are cheap, as they are used in so many golf carts. 100V+ controllers get real expensive fast.
Follow the schematics available through the controller manufacturer to connect the batteries to the controller and motor with heavy gauge cabling, such as welding cable, with reliable, heavy-duty lug terminals on end.
The controller requires a 0-5Kohm potentiometer as a "throttle." It could be as simple as a $3 Radio Shack part or as fancy as a purchased, specialty part such as a Curtis PB-6. Run the gas pedal cable to the potentiometer so that when your foot is on the gas, it sends a variable signal to the controller.

